Reading List
I finally learned how to RSVP using webmentions from Oh Hello Ana RSS feed.
I finally learned how to RSVP using webmentions
Sometimes I feel like I am the only one struggling with how to put together all the pieces of the IndieWeb. I think I understand them all isolated but I struggle have vision with how they all connect. I think it is related to the way I learn which may be different from the majority of the people. I saw Neil's sketch of what is happening in his IndieWeb setup and... I don't have think I have anything similar to it.
One thing I struggle a lot is with Webmentions. I usually joke that I have a Webmention curse. I've tried many tools to try to get Webmentions in my blog but because I would use third party tools that always do magic stuff for me, I don't fully understand them. Even with all that magic I haven't been able to get it to work. My other struggle is that most Webmentions tools out there are built in languages I don't understand.
While at Homebrew Website Club London I told Calum and Neil that I wish I had "Webmentions working" so that I could RSVP to the event on the website. Turns out things are not that connected!
So, to practise what I preach, I decided to write down what I learned last Wednesday.
How RSVP using Webmentions work
- A blog entry or HTML page is created saying you're rsvping to an event using the correct microformats.
- The same blog entry or HTML page is used to send a webmention to the event in question.
Disclaimer:
- This is written based on how my blog works and it is built.
- Assuming you already use web sign-in and webmentions.io
- Some familarity with microformats.
- I couldn't manage to get syntax highlighting working on my blog so I will have to link to my Git Hub files. I'm sorry.
Create your RSVP template
At the time of writting this blog post I was using Jekyll but I am certain this applies to anything else. I based mine on the example available on the IndieWeb wiki's page for RSVPs. Also at the time of writing this blog post I had not added a particular style to my template but it is available in my GitHub.
Note: Make sure you add date to it. I didn't and it wasn't picking it up.
Create your post/page where you announce your RSVP
Because I am using Jekyll, I was able to create a blog post where I choose the template to be used. In my post, I wanted to RSVP to the event I was at: Homebrew Website Club London. So I created a blog post (available in my GitHub) where I specify my RSVP (in this case "yes"), the "targetName", "targetUrl" and all the other info to match my layout (don't forget "date").
The reason why this blog entry doesn't appear in my home page it is because I gave it a category called "rsvp" and when I list all my blog posts I am filtering them by category.
I now had a RSVP post.
Testing and debugging
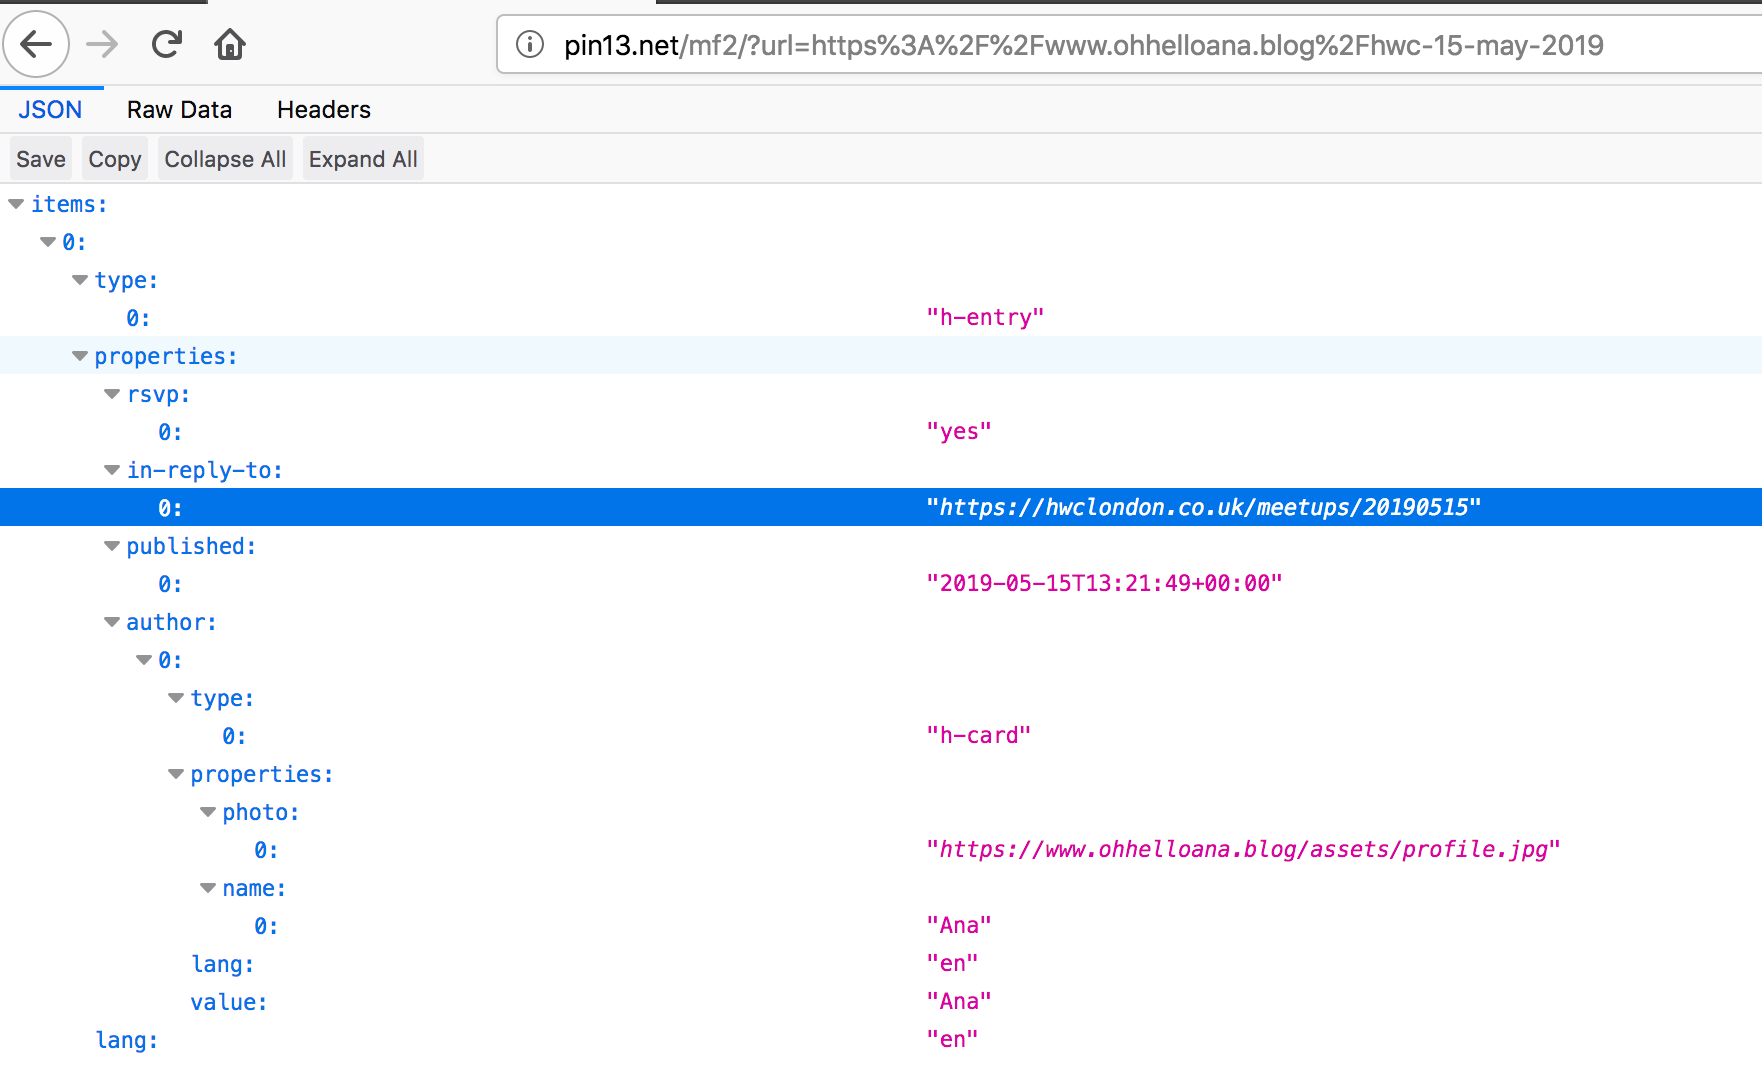
Before I sent my RSVP, Calum advised me to test it. One way you can do it is using pin13. I'm really glad I did because in fact, my first attempt was missing important details and it wasn't sending all the necessary info.

I didn't know how to debug so at the time we used a working example from Calum, pasted the urls and compared both to see what was missing. If you're familar with microformats you will recognise them and how they are used when seeing the whole structure. In my case, what was missing (and it wasn't immediately obvious) was the information if the post was published, quotes around my RSVP answer and author information in the template (with the correct hierarchy).
Another helpful way to see what and if you're missing something is to check the mentions in your target url (this way work best if you submit your Webmention and it isn't appearing like all the others). In this case I used Webmention.io for it and checked everyone else's RSVP content. This method was how we spotted that I was missing the "published" information regarding my post.
Sending a Webmention
Using Telegraph you can send Webmentions. In the "Source URL" I pasted my blog entry with my RSVP and in the "Target URL" I pasted the url of the Homebrew Website Club that I wanted to RSVP to.

After submitting it, you should see a screen that informs you of the status of it.
Celebration time?
Depending on how frequently your target URL collects Webmentions, and assuming that you saw a success screen after submiting your website, all you have to do is check the target URL. After some attempts mine ended up working! If you want to change anything about it (I changed my photo caption), you would have to submit the webmention again.
Further reading and useful resources:
- IndieWeb's wiki article on RSVP.
- IndieWeb Guides.
- Webmentio.io
- pin13
- Telegraph
- Microformats
- My RSVP post
Thank you to Calum and Neil for all their help and patience with me! Now I need to figure out all the other bits of Webmentions!